Yes, I am a huge nerd. But I'm not the only one! Enjoy these super nerdy thrift store finds in honor of Star Wars Day!
My husband loves waffles almost as much as he loves the Millennium Falcon, he was very excited by this find!
Yes, I am a huge nerd. But I'm not the only one! Enjoy these super nerdy thrift store finds in honor of Star Wars Day!
My husband loves waffles almost as much as he loves the Millennium Falcon, he was very excited by this find!
I collect a lot of vintage linens from thrift and antique stores; I'm always on the lookout for good fabric and fine hand embroidery. Unfortunately a lot of these old pieces are yellowed or stained from years of use. However, I have found the perfect weapon with which to combat these entrenched stains: Oxy-Clean
| This small scoop is plenty for washing several small items or even a large tablecloth |
The basic recipe is: soak the stained fabic in Oxy-Clean and hot water for a couple hours, rinse and hang dry.
Most old embroidery threads are quite colorfast, but it pays to be a bit careful. It's always a good idea to dab a bit of your Oxy-Clean solution on a discrete corner and make sure the colors won't run. Red dye in particular tends to bleed more than other colors. If you're worried about the colors, try using cold water first. It might not get all the stains out, but it's safer for the colors.
Also, make sure to rinse your linens thoroughly to get all the Oxy-Clean out. If there's still some left when you iron the fabric, it can leave a brown stain. This stain too can be easliy removed with another soak, though.
| Before washing - note the yellowed spots on the lace as well as the stains on the linen |
| After soaking for ~3 hours in hot tap water and Oxy-Clean - All the yellowed spots are gone! |
As a bonus, Oxy-Clean will even lighten the marks from permanent iron on transfer pens or pencils! So if you slip up when transferring a design, or can't cover the lines completely with your stitches, Oxy-Clean can help!
| See the blue shadow under the grey stitch just to the right of the red? That's the line from an iron on transfer pen. |
| Here's that same stitch, after soaking in the same Oxy-Clean bath as the runner above. The blue shadow is no more! |
Another of my many needlework hobbies is the collection of vintage craft books. Found in dusty corners of second hand shops, in pride of place in used book stores, these old tomes often contain beautiful nuggets of crafting wisdom, and a heaping helping of vintage charm. Reviving the techniques, tips and retro projects is just one more way for us to bring back the wonders of the handmade.
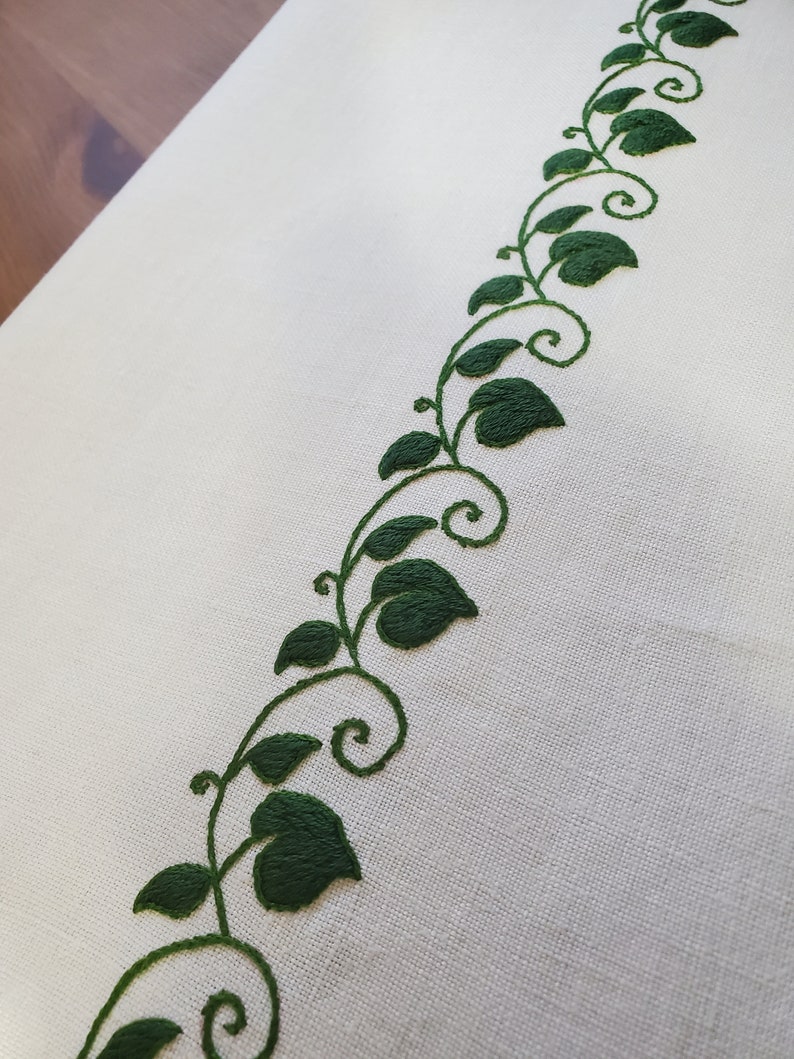
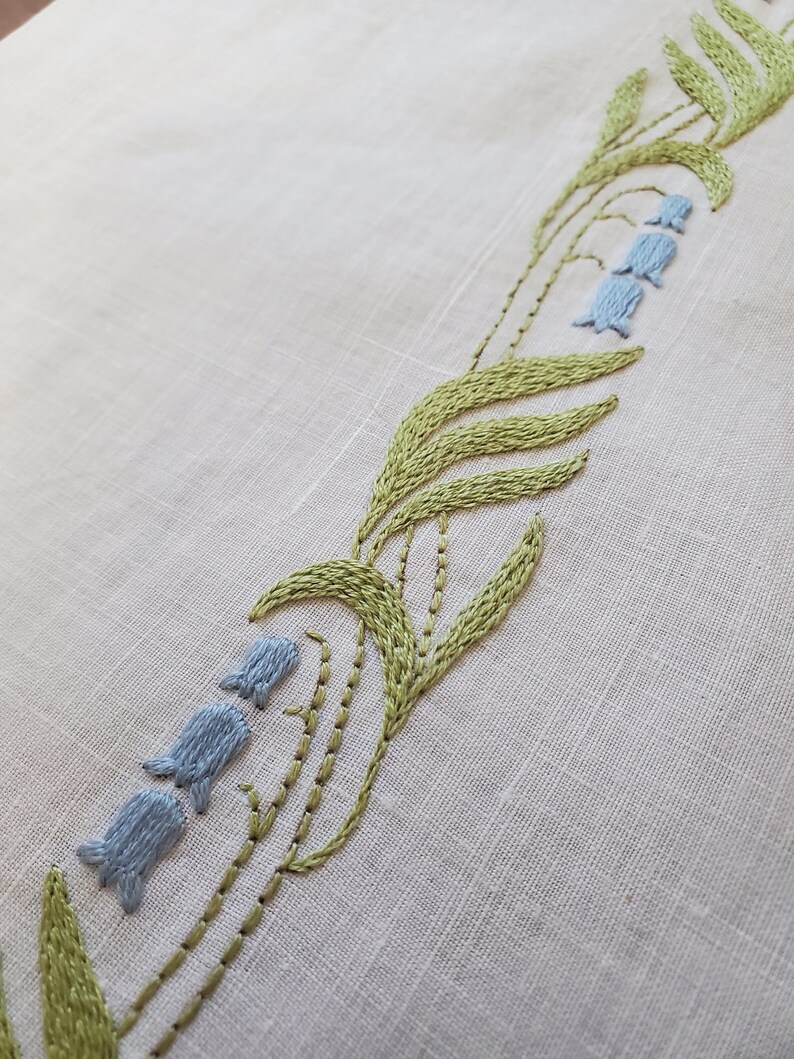
It's free pattern friday! This time it's a trio of fantastic border designs, and a bit of stitching inspiration. These patterns are also great for drawing, painting, or whatever your craft of choice. Enjoy!
I shop at thrift stores a lot. Really, a lot. Clothes, books, decor items, cookware, raw materials for my shop; most of the goods I buy come from second hand shops. This is partly because I am cheap and refuse to pay full price for new when perfectly serviceable things are available used. Mostly, however, I shop at thrift stores because they can offer some hidden gems found nowhere else.
One of the many things I dabble in is designing knitting patterns. Most often I do so because I conceived of a desire for a garment and couldn't find an existing pattern that was exactly what I wanted. So I try to make my own.
I am an avid and primarily self taught knitter. I learned most of the techniques I know by trial and error as I worked a pattern that was probably too advanced for me at the time. Collecting these tricks and techniques into one place is hopefully as helpful to others as it is to me.
One thing I have always struggled with when designing a pattern is how to distribute increases or decreases to make a curved edge like for armholes and shoulders. And then I had a bit of an epiphany; if it's hard to visualize, draw it!
I was trying to make a nice curve for a sleeve cap. So the first this I did was sketch in the shape I wanted. I only drew one curve, since the shape will be symmetrical, just imagine the other half to the left of the drawing. Since knit stitches are wider than they are tall, each square on the graph is one stitch and two rows.
Once I had the curve in, I used a ruler to draw straight lines to approximate it. Using the grid, I just counted how many stitches needed to be decreased in how many rows for each straight line segment. The bottom line of numbers in each set on the diagram is that count. Multiply the count by two to account for the other half of the sleeve cap, and then simple division gives the distributions listed in the top line. At that point, just work from the bottom up.
For this example that means:
Decrease 1 stitch each side every 4 rows, 8 times, for a total of 16 stitches decreased over 32 rows, then
Decrease 1 stitch each side every 2 rows, 6 times, for a total of 12 stitches decreased over 12 rows, then
Decrease 2 stitches each side every row, 4 times, for a total of 16 stitches decreased over 4 rows.
And now you have an easy step by step to follow to make the curve!
For the curious, here's how those sleeve caps turned out :)